From a point cloud to a tunnel mesh based on a human silhouette
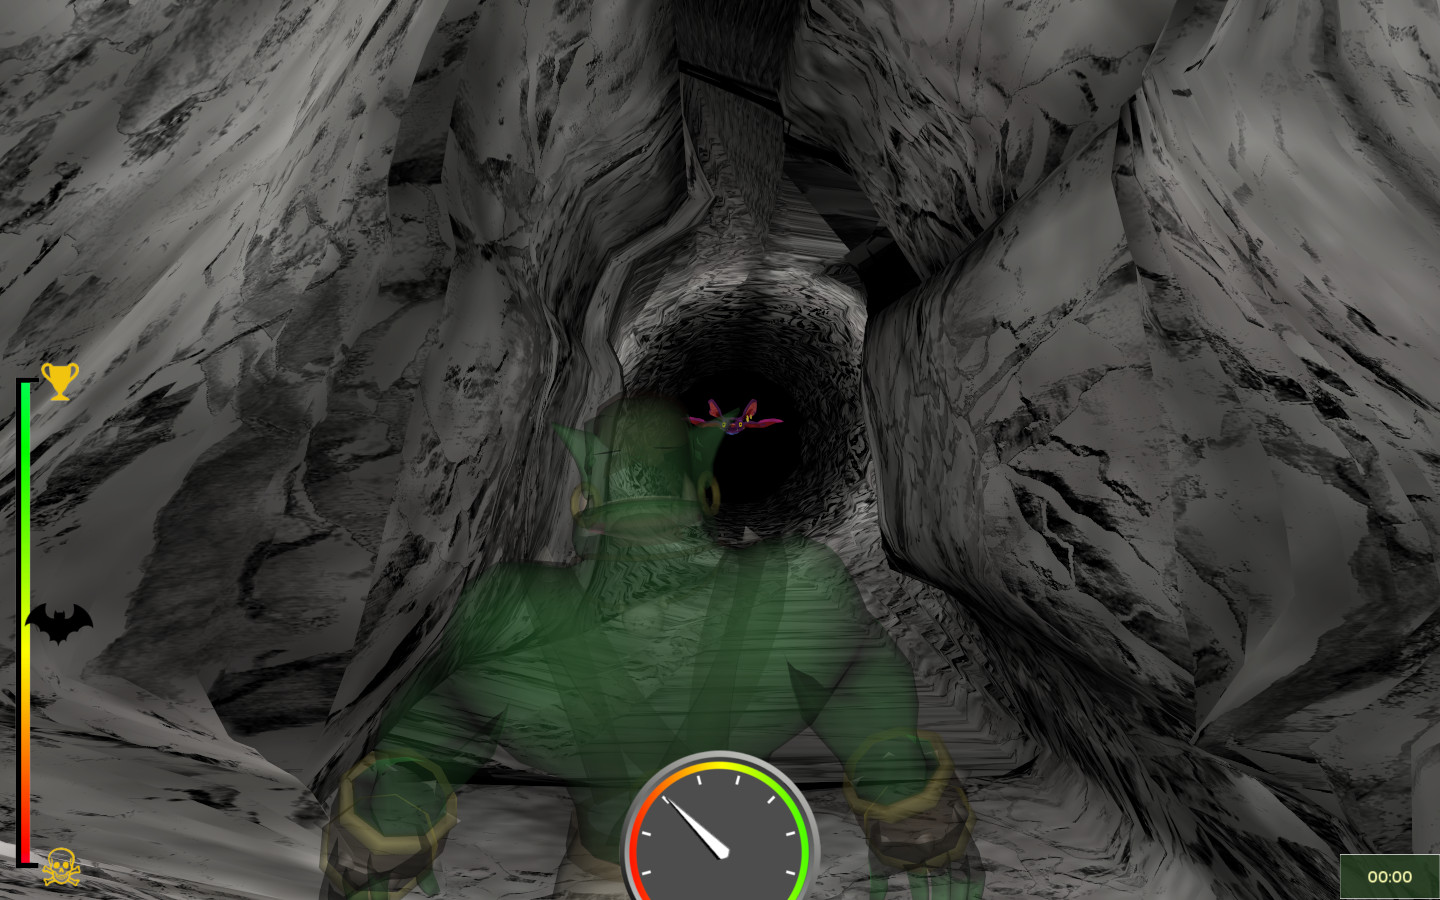
Figure 1: In-game screenshot of the final tunnel mesh.
Data basis: point cloud of the depth image from the Microsoft Kinect camera
- Points in the background are not considered. There is a chosen maximum depth, to eliminate unimportant points in the background.
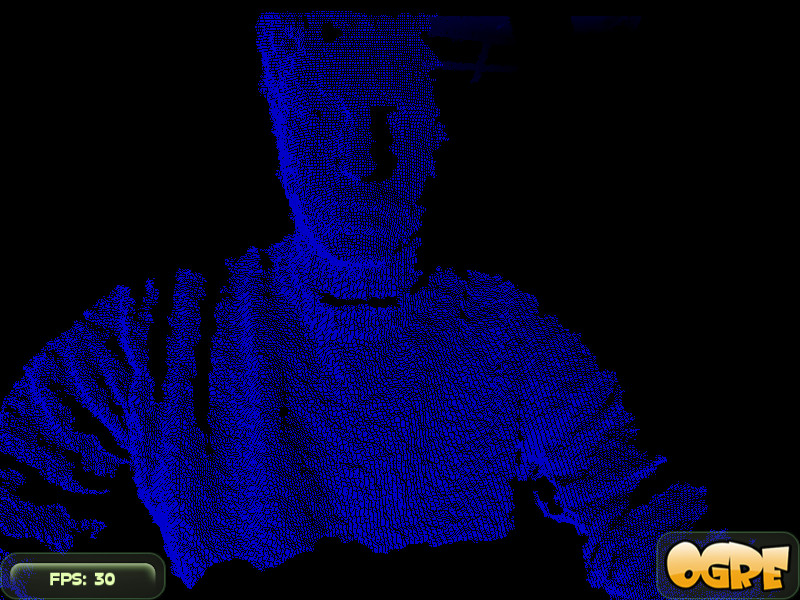
Firgure 2: The following figure shows a depth image from the Kinect point cloud.
Finding and smoothing the silhouette points
- To find the outer points of the silhouette, we go through all points of each frame, line by line.
- The z-value of the current point is compared with the z-value of the previous point . Using a threshold value, a decision is made whether this point is an edge point of the silhouette. The idea is that the outlines of a person in an almost empty room have very strong differences in their depth values compared to he background. The depth values within the person can not distinguish in the same contrast.
- This results in the following results, illustrated by the next figure.
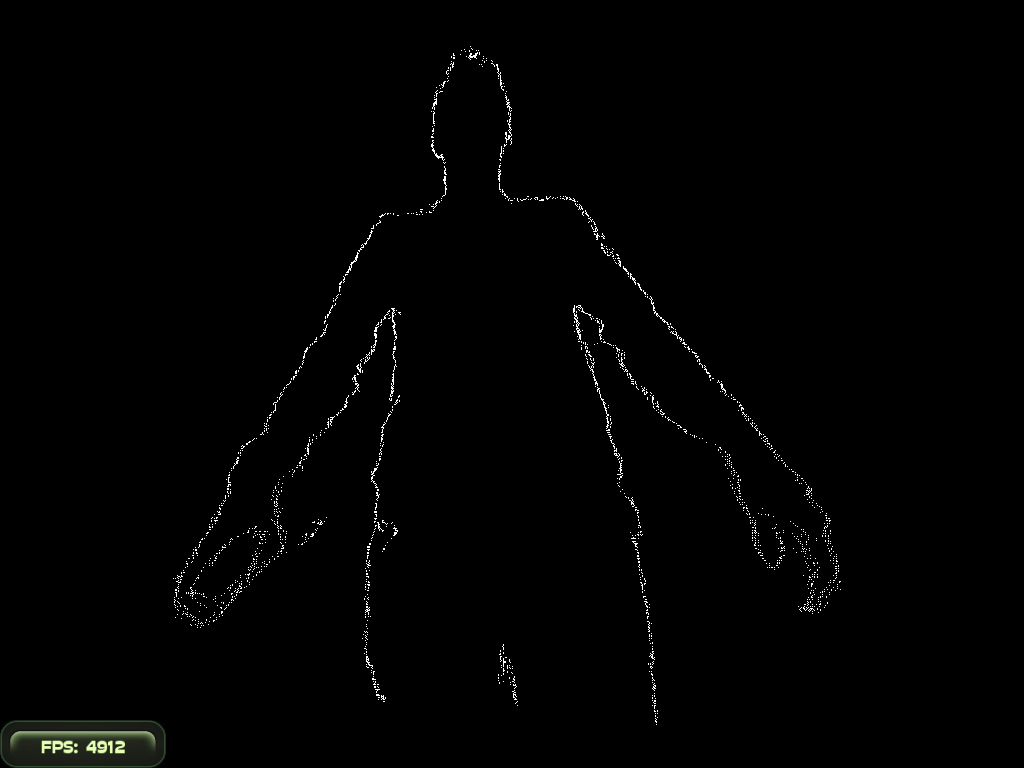
Figure 3: Screenshot of the extracted points from three frames
- This silhouette includes single fingers and extremities. To create a tunnel mesh for our purpose, these details are not required. Therefore, in the next step, all points that do not belong to the outer contour are filtered out. We go through the points line by line and only the points with maximum and minimum x- values per line are used. In order to filter noise, the points are checked against a limit, whether the distance to the previous and next point has a meaningful value.
- After that the points are ordered based on your y-values to makes it possible to connect all the points in sequence, as shown in the next figure.
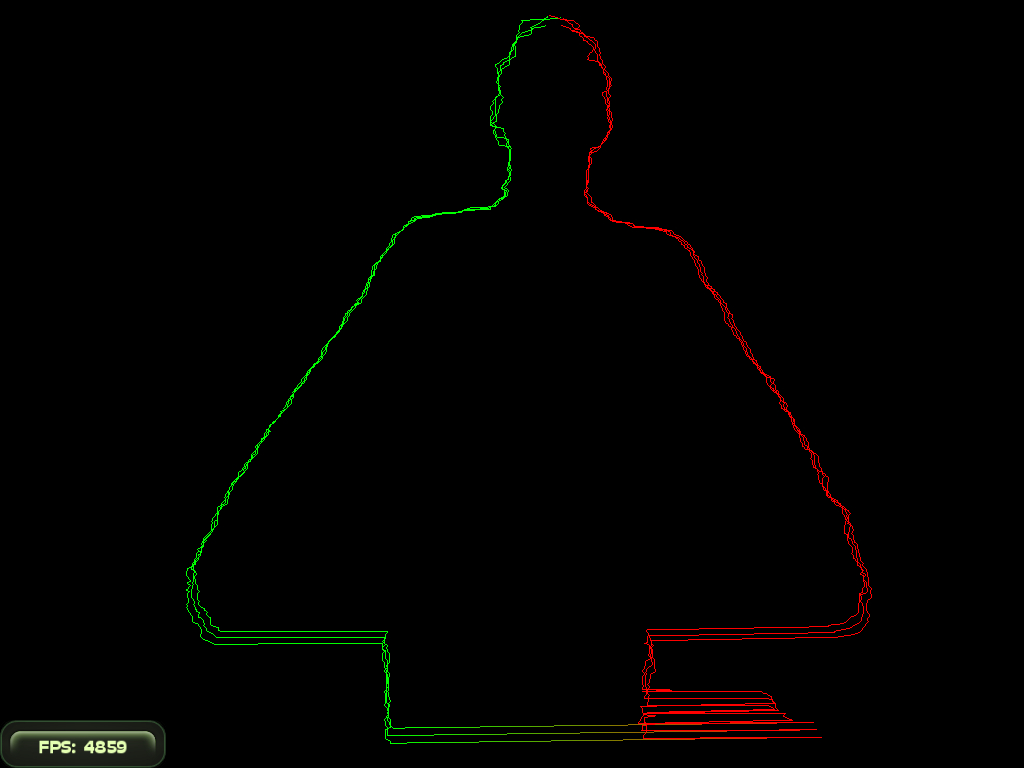
Figure 4: Connected points of 3 silhouettes.
Calculation of the data for the tunnel
- The main problem with the creation of the 3D tunnel from the points of the silhouettes is that the number of points of the silhouettes can vary greatly (about 400-900 points per silhouette). It is not clear which points must be connected to triangulate a tunnel mesh. In addition, many of the points are redundant for the appearance of the tunnel surface. In order to solve this problem, the number of points per silhouette are being reduced to a fixed value. In the examples shown here, each silhouette is reduced to 50 points. This is done by calculating the average of two percent of the original points, resulting in a smoothed silhouette with a fixed number of points.
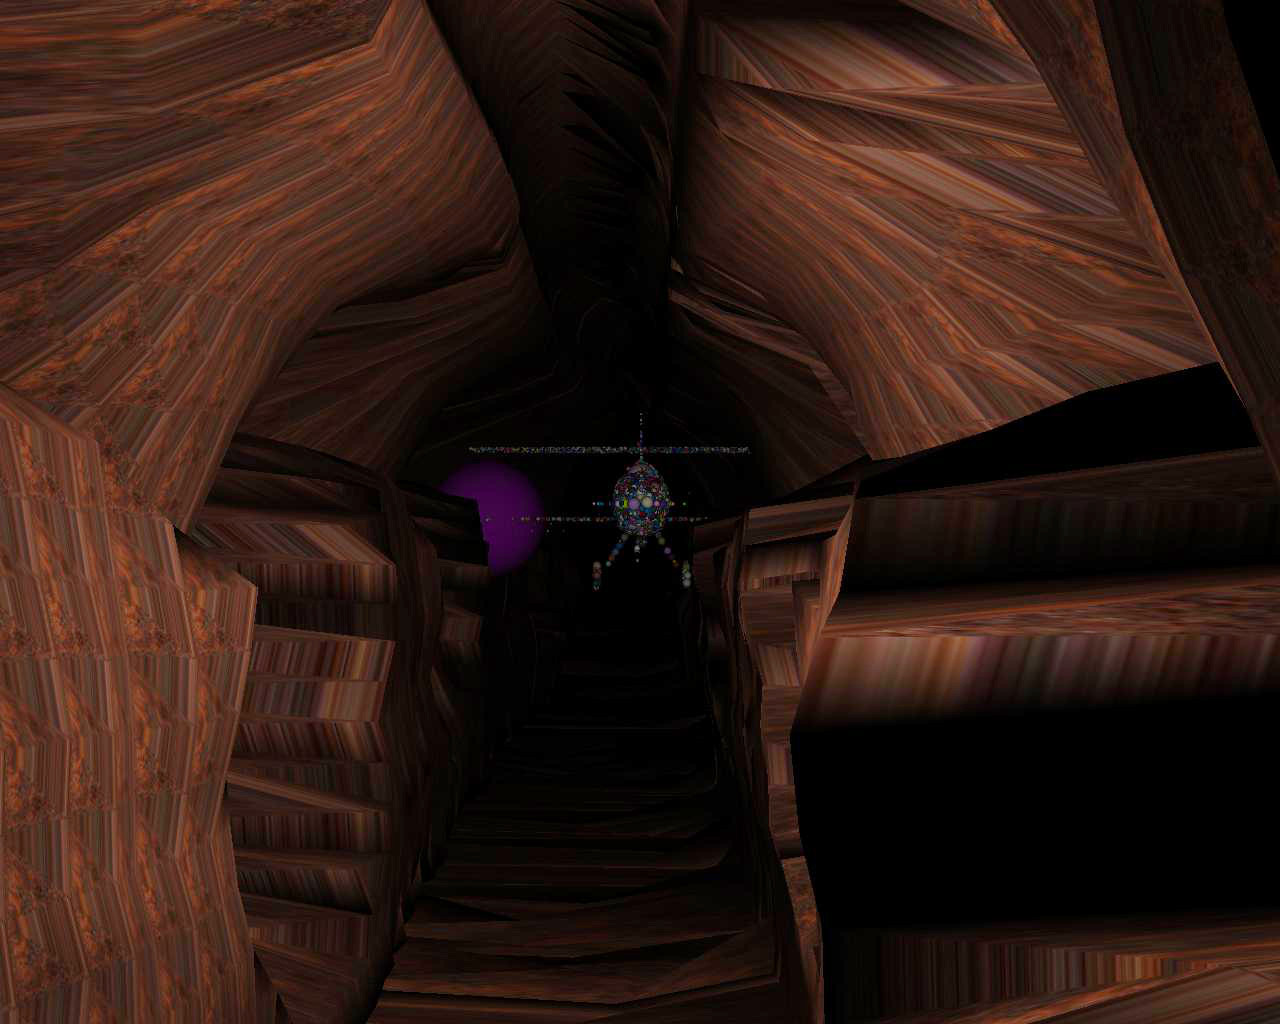
Figure 5: The resulting tunnel mesh without smoothing.
- We are taking some more steps to smooth and remove unwanted spikes and edges in the tunnel walls. Each new silhouette that is added to the mesh is calcuated of a weighted average of the current silhouette and its two predecessors. This leads to a significantly smoothed tunnel, as shown on the next screenshot.
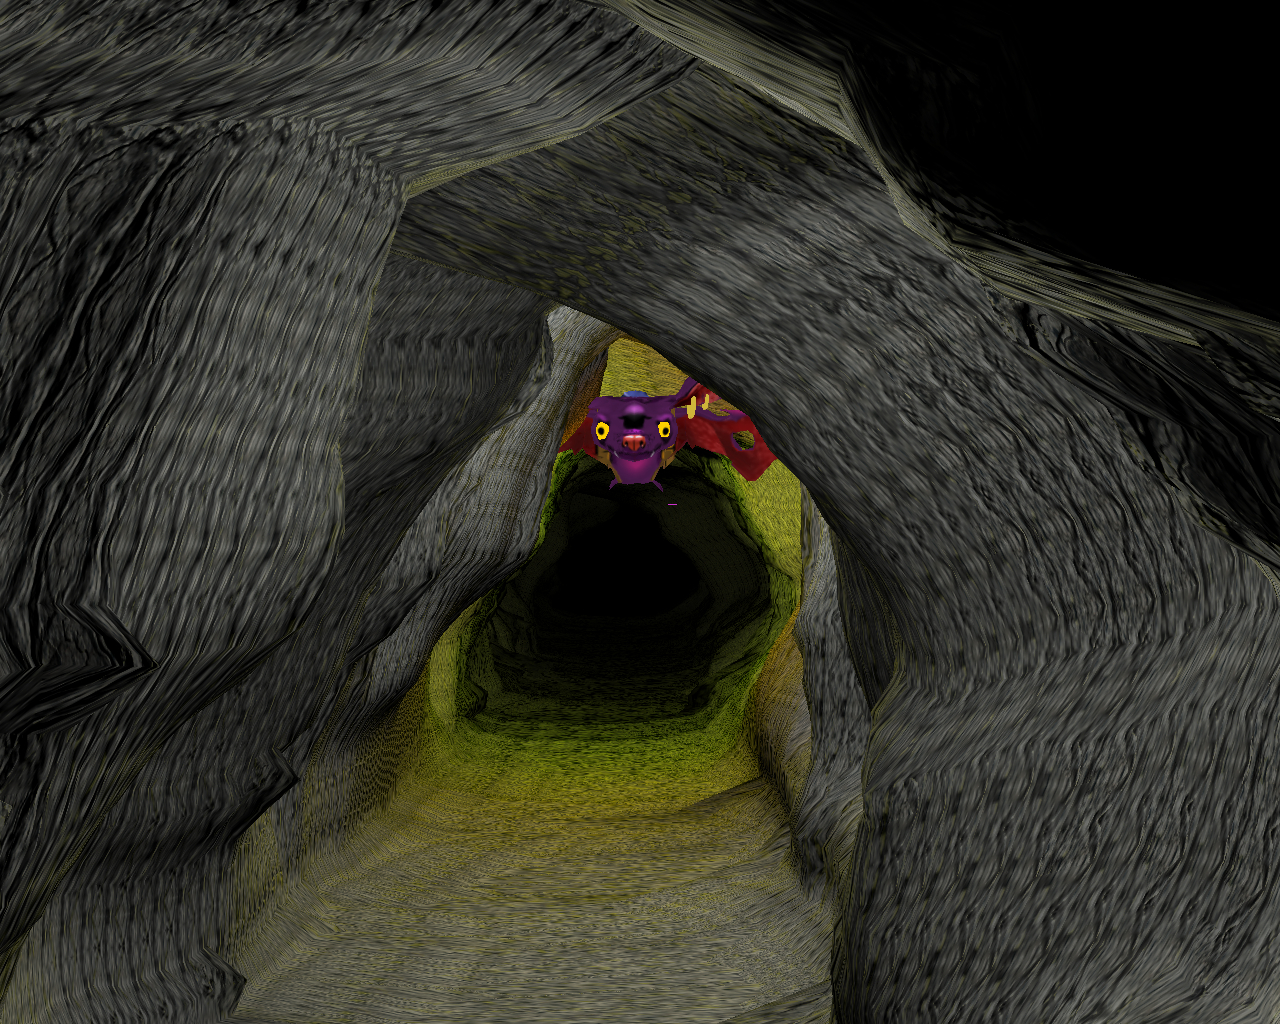
Figure 6: Part of a smoothed tunnel mesh.
